 Anheften
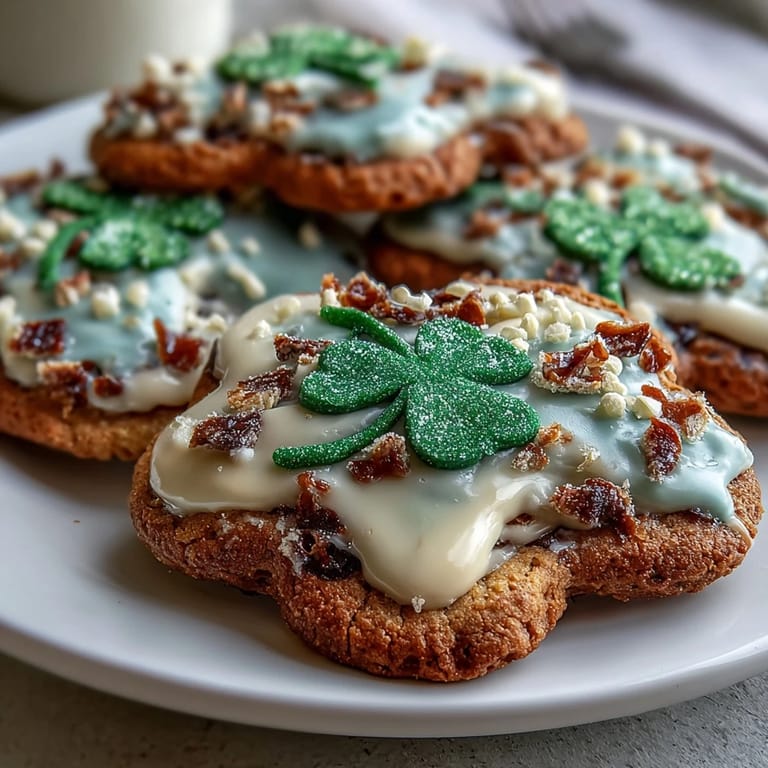
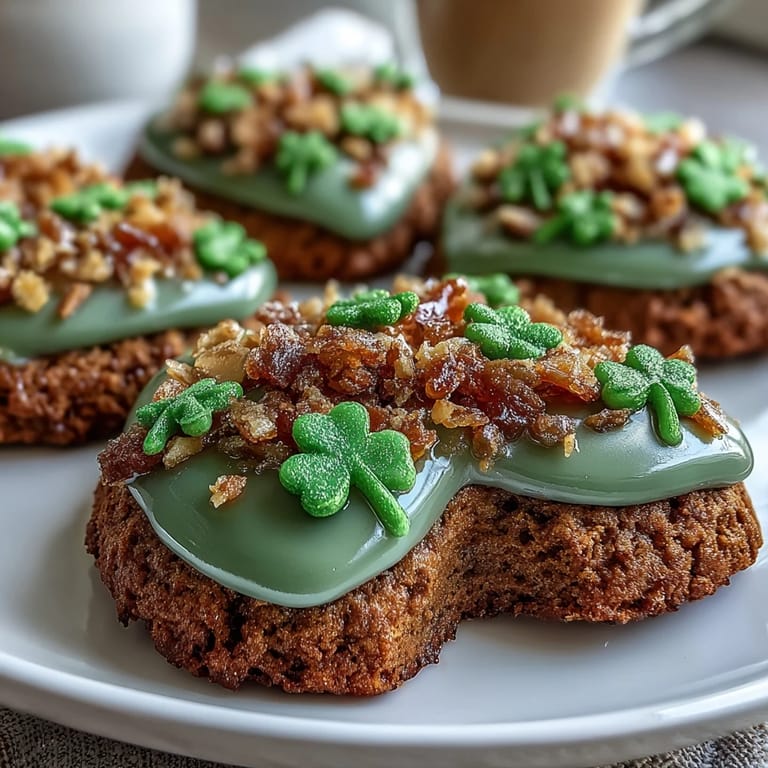
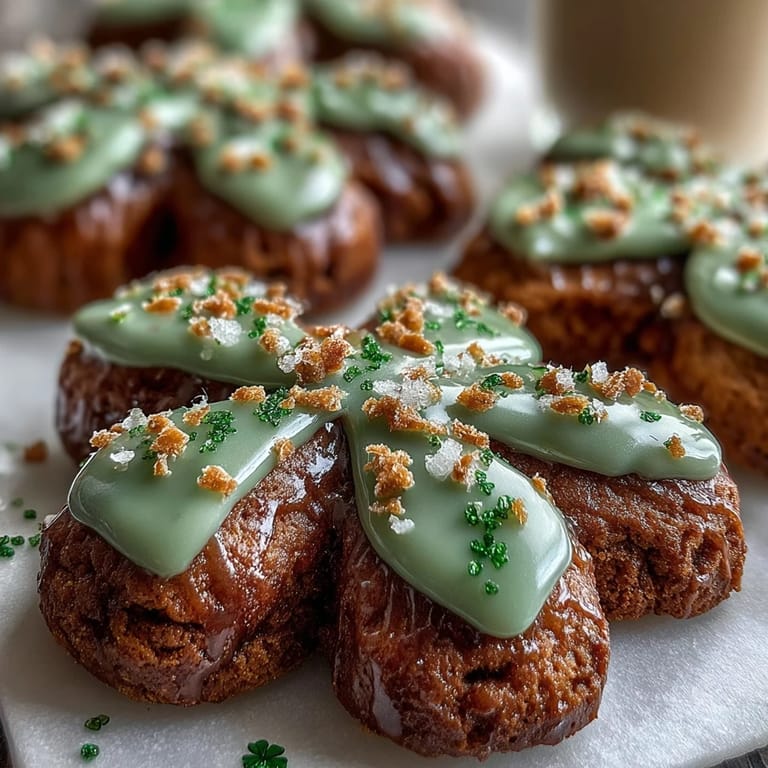
 Years ago, my neighbor showed up at my door with a tin of perfectly decorated green and gold cookies, and I realized that St. Patrick's Day didn't have to mean green beer—it could mean something sweeter, softer, and entirely homemade. The moment I bit into one, I knew I had to learn her trick, and she generously shared that the secret was in how you cream the butter and sugar, and then, of course, in those bold buttercream outlines that made them look far fancier than they actually were. Now, every March, my kitchen smells like vanilla and almond extract, and these cookies have become the reason people actually look forward to my St. Patrick's Day gatherings. They're soft enough to practically melt on your tongue, yet sturdy enough to hold those vibrant green and gold decorations without cracking.
I'll never forget the year my daughter insisted on helping decorate, and somehow more buttercream ended up on her cheeks than on the cookies—but when her friends came over, they didn't care about perfection, they just wanted another one. That's when I understood that these cookies aren't really about Instagram-worthy presentation; they're about gathering people around something warm and festive that you made with your own hands.
Ingredients
- All-purpose flour (2 1/2 cups): This is your structure, so measure it by spooning into the cup rather than scooping directly from the bag, which can pack it too tightly and make your cookies dense.
- Baking powder (1/2 tsp): Just enough to give the cookies a gentle lift without making them cake-like—don't skip it or they'll be flat.
- Salt (1/4 tsp): A tiny pinch that makes the vanilla sing and balances all the sweetness.
- Unsalted butter (3/4 cup for dough): Softened butter is non-negotiable here because it incorporates air and makes the dough creamy; cold butter will fight you every step of the way.
- Granulated sugar (1 cup): This sweetens the cookie and helps create that tender crumb, so don't substitute brown sugar unless you want a different texture entirely.
- Egg (1 large): Binds everything together and adds richness; make sure it's at room temperature so it mixes smoothly.
- Vanilla extract (2 tsp) and almond extract (1/2 tsp optional): The almond extract is my secret weapon—it adds a subtle depth that makes people ask what's in these cookies.
- Unsalted butter for buttercream (1/2 cup): Keep this separate from your cookie butter; it needs to be softened to a creamy consistency.
- Powdered sugar (2 cups sifted): Sift it first so you don't end up with lumpy frosting that won't pipe smoothly.
- Whole milk or heavy cream (1-2 tbsp): Start with 1 tablespoon and add more if needed; this controls how thick or pipeable your frosting becomes.
- Green and gold gel food coloring: Gel colors are more vibrant than liquid ones and won't thin out your buttercream the way liquids do.
Tired of Takeout? 🥡
Get 10 meals you can make faster than delivery arrives. Seriously.
One email. No spam. Unsubscribe anytime.
Instructions
- Whisk your dry ingredients together:
- In a medium bowl, whisk the flour, baking powder, and salt so they're evenly distributed—this ensures your cookies will rise uniformly instead of having random dense spots.
- Cream the butter and sugar until fluffy:
- This is where patience matters; spend a full 2 to 3 minutes beating them together until the mixture looks light and pale, almost like fluffy clouds. You're incorporating air, which is what makes these cookies soft and tender.
- Add the egg and extracts:
- Pour in the egg along with the vanilla and almond extract, beating until everything is well combined and the mixture looks smooth and creamy.
- Fold in the dry ingredients gently:
- Add the flour mixture gradually and mix just until combined—overmixing activates the gluten and makes cookies tough, which is the opposite of what you want here.
- Chill the dough:
- Divide it in half, shape into discs, wrap in plastic, and refrigerate for at least an hour (or up to 2 days). This step prevents the dough from spreading too much when it hits the hot oven.
- Preheat and prepare your workspace:
- Heat the oven to 350°F and line your baking sheets with parchment paper so the cookies don't stick and you can reuse the sheets easily.
- Roll and cut with care:
- On a lightly floured surface, roll the dough to about 1/4-inch thickness—thick enough to stay tender, thin enough to bake evenly. Use shamrock cutters or other festive shapes and place cookies about an inch apart.
- Bake until just golden:
- Watch for the edges to turn barely golden (8 to 10 minutes); the centers will still look slightly underdone, which is perfect because they'll continue cooking on the hot pan. Let them rest on the baking sheet for 5 minutes, then move them to a wire rack to cool completely.
- Prepare the buttercream:
- Beat the softened butter until it's creamy, then gradually add the sifted powdered sugar, beating until smooth. Add vanilla, salt, and milk one tablespoon at a time until you reach a consistency that pipes smoothly but still holds its shape.
- Tint and pipe:
- Divide the buttercream among bowls, add your gel coloring to create vibrant greens and golds, then transfer to piping bags fitted with small round tips. Outline and decorate each cookie as you wish, and let the frosting set before serving (about 30 minutes).
 Anheften
 I learned the hard way that rushing the chilling step leads to cookies that spread into sad, flat pancakes, so now I actually plan my baking around that hour of waiting time. There's something almost meditative about it—you mix everything, then you have time to clean up, set your table, or just take a breath before the actual baking begins.
Why These Cookies Feel Special
What makes these cookies different from just any sugar cookie is the combination of soft texture and that almond extract, which gives them a subtle richness without tasting like marzipan. The buttercream outlining—rather than flooding the entire cookie—keeps them elegant and less sweet, which means people can actually eat more than one without feeling overwhelmed by sugar.
Decorating Like You Know What You're Doing
The beauty of piping outlines instead of covering the entire cookie is that mistakes become part of the charm; a slightly wobbly shamrock outline looks homemade and genuine, not sterile. I've found that letting the frosting set for at least 30 minutes before stacking or packaging prevents smudges, and using a small round piping tip gives you precision without requiring the steadiest hand.
Make-Ahead Magic and Storage
The dough can be made up to 2 days ahead and refrigerated, or frozen for a full month, which means you can spread out your work and bake fresh cookies on the morning of your celebration. Undecorated baked cookies keep for about 5 days in an airtight container, and decorated cookies last just as long as long as you keep them in a cool, dry place away from humidity.
- For maximum freshness, decorate cookies the day you plan to serve them rather than days in advance.
- If you need to transport them, layer undecorated cookies between parchment paper in a sturdy container to prevent breakage.
- Store decorated cookies in a single layer if possible, or separate layers with parchment to protect the frosting.
 Anheften
 These cookies have a way of turning an ordinary March afternoon into something worth remembering, and they're humble enough that even imperfect decorations become treasured gifts. Make them, share them, and watch how a simple butter cookie becomes the reason people gather.
Rezept Fragen & Antworten
- → Wie erreiche ich die perfekte Konsistenz für den Teig?
Mixen Sie Butter und Zucker cremig und fügen Sie die trockenen Zutaten langsam hinzu. Der Teig sollte geschmeidig, nicht klebrig sein und vor dem Ausrollen gut gekühlt werden.
- → Welche Formen eignen sich für diese Plätzchen?
Festliche Formen wie Kleeblätter oder andere St Patricks Day-Motive bringen die passende Thematik schön zur Geltung.
- → Wie halte ich die Buttercreme zum Verzieren geschmeidig?
Buttercreme mit etwas Milch frisch halten und bei Bedarf aufschlagen, bis sie eine glatte, gut spritzbare Konsistenz erreicht.
- → Kann ich die Plätzchen im Voraus vorbereiten?
Ja, der Teig kann bis zu 2 Tage gekühlt oder bis zu 1 Monat eingefroren werden, um flexibel zu backen.
- → Wie konserviere ich die verzierten Plätzchen am besten?
Nach dem Verzieren die Plätzchen vollständig trocknen lassen und luftdicht verpacken, um Frische zu bewahren.